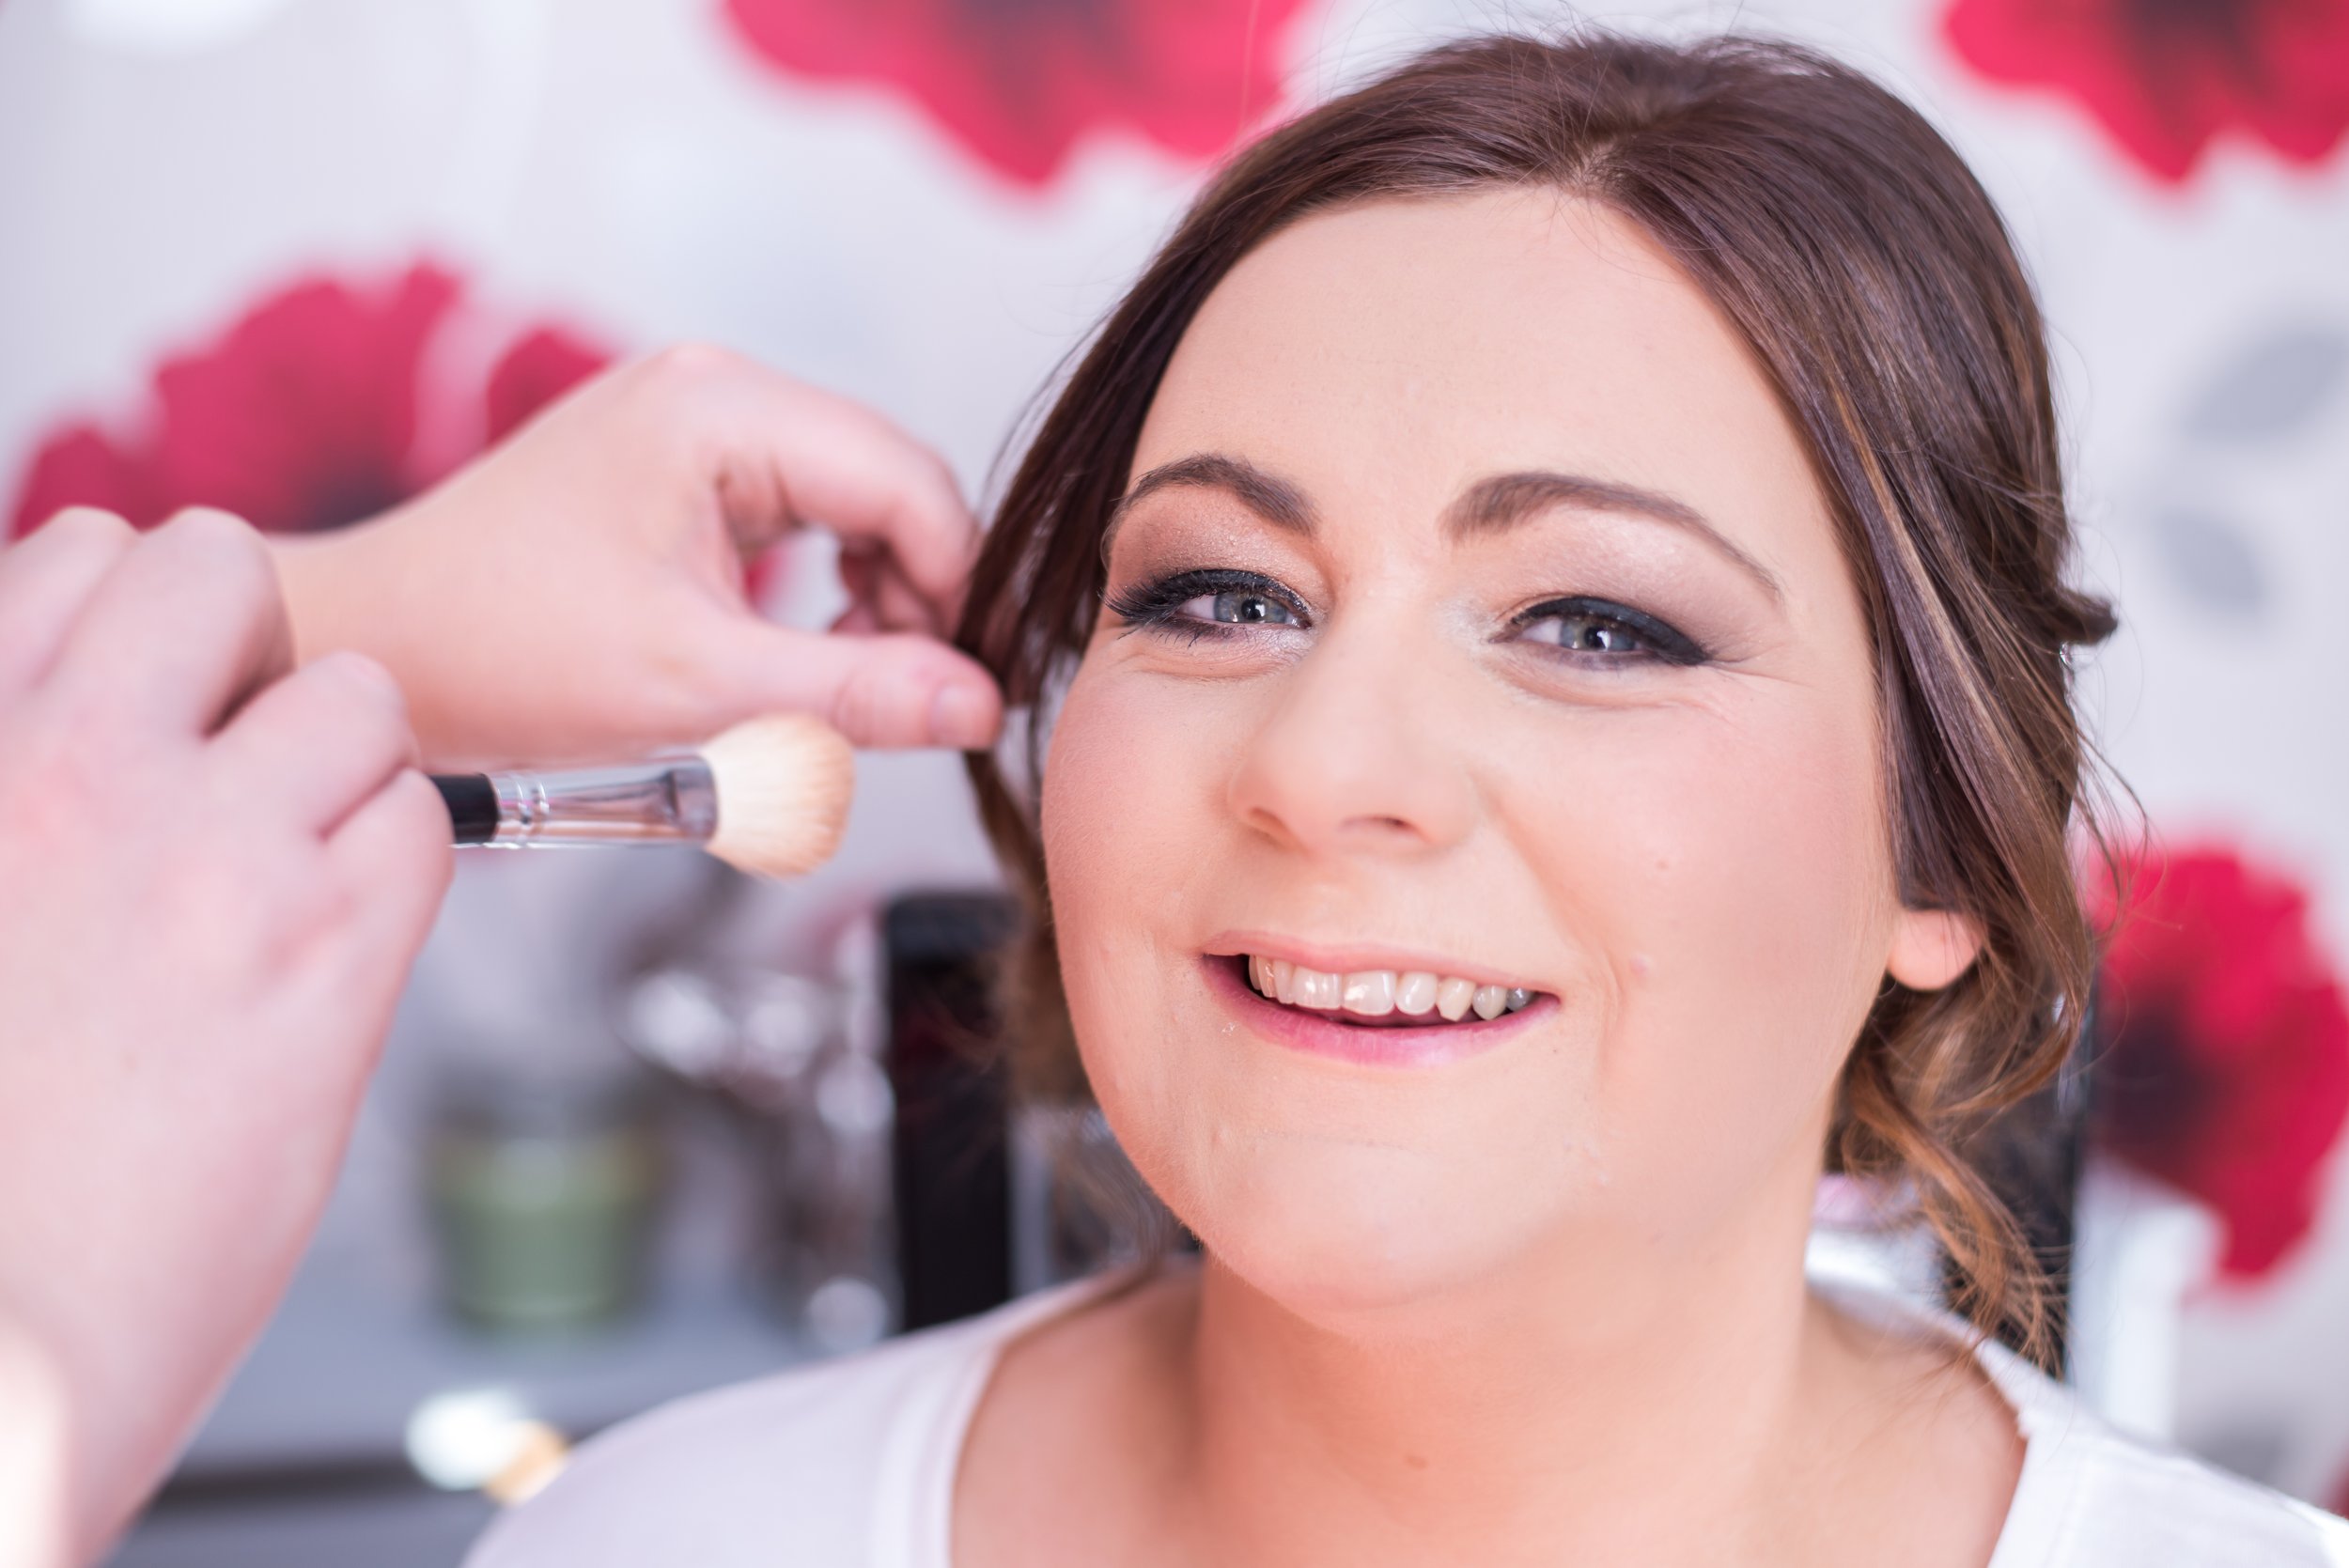
How to Create a Natural Makeup Look for Your Photo Shoot
You want to look your best on the day of your photo shoot and how you apply your makeup can play a big part in this. When it comes to doing your make up you want to enhance your natural features. Usually the less is more approach is the best way to go about this, however flash can sometime wash you out, so slightly heavier makeup to usual works well. To help you create a flawless natural look for your upcoming photo shoot consider these simple steps.
THE BASE
The key to a good even base is in the preparation! Skincare in the run up to the shoot is important. I recommend not to do a facemask in the week before the shoot (unless you do them regularly) as it’ll likely bring any spots to the surface. Regular exfoliation and moisturisation is essential though.
Moisturise
You always want to make sure you moisturise prior to applying your makeup. This will help keep the makeup looking fresh while keeping your skin hydrated. It also makes it easier to blend and limits creasing.
Foundation
After moisturizing, you want to apply your foundation over your entire face. Use a brush or blender to ensure you get an even coat over the entire area.
Concealer
Most women have a few trouble areas that they want to conceal, mainly under the eyes and for any pesky blemishes. Use concealer sparingly and make sure it is blended in well.
Powder
Applying a translucent powder to the center of the forehead, nose, and chin will reduce any shine you may experience. The camera will pick up any gleam your face gives off so you don't want to skip this step but you do want to try to avoid any powders with glitter or shimmer as this will only be magnified.
THE EYES
Eye can be as natural or smokey as you feel is right, however I do usually suggest more what you would do for an evening rather than day so that it stands out better on camera.
Eyebrows
Many people neglect to use an eyebrow pencil to make their brows a little fuller because this can often be easily overdone. Using an eyebrow pencil, however, can make your eyes look wider and your face look younger. Starting at the bottom of your brow use a pencil to fill the brow in from the bottom up. You want to start off a little darker and lighten the colour as you move towards the top to create a more natural look.
Lids
For a very basic look to help emphasize your eyes with eye shadow, use three colours. Start with a natural colour that is close to your skin tone and apply it over the lid. Apply a darker colour to the crease of the lid and finish with a highlighter colour applied to the inner corners of the eye and along the brow bone. You want to ensure everything is well blended to maintain a natural look. Also make sure you avoid sparkle or shimmer as this doesn’t usually photograph well.
Lashes
Apply mascara first then the root of the lashes and then work your way out. You can do this to both the top and bottom lashes, depending on your eye shape. You can apply a second coat if necessary.
CONTOURING
While full on contouring might be scary for those who don’t normally wear make up, some basic steps can help accentuate your best features.
Highlighter
Remembering to avoid highlighter with shimmer or sparkle, apply it first before blush or bronze. You can use the same highlighter you used with your eyes but this time apply it to the top of the cheekbones.
Bronzer
If required you can lightly apply the bronzer to the jaw line, sides of the nose, under the cheekbones and to the temple area.
Blusher
Keep your blusher a natural colour and apply it to the checks. Make sure you blend it well with the highlighter and bronzer.
LIPS
To finish off your natural look you want to stick with a neutral lipstick. Gloss may be applied in moderation.
Lips
There are so many nude colours to choose from so be sure to find one that keeps your makeup well balanced. Really bright lips could work, depending on the look you are going for, however with will likely draw the eye, which might distract from the overall image.


